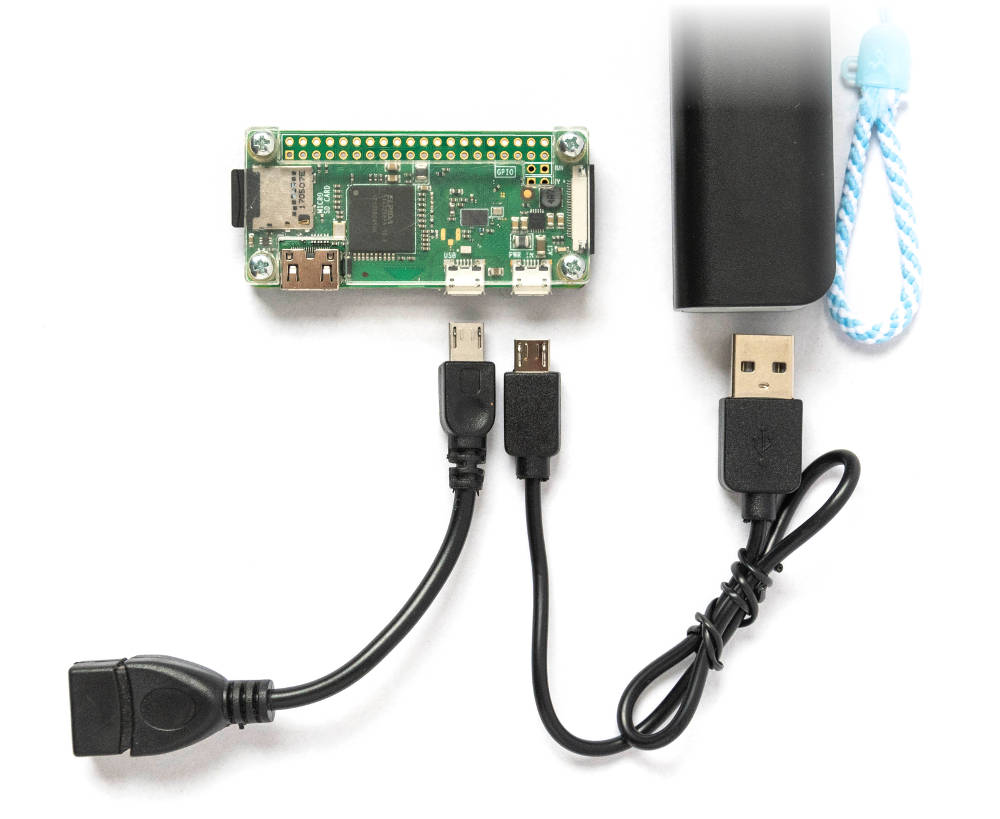
Hardware
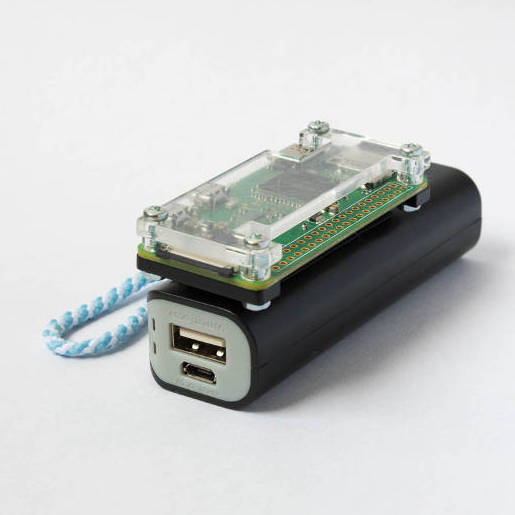
Tiny Raspberry Pi computer + powerbank battery
Software
Ready-to-run software for the Raspberry Pi
DIY WiFi adapter for qDslrDashboard app (supports Nikon and Canon cameras).
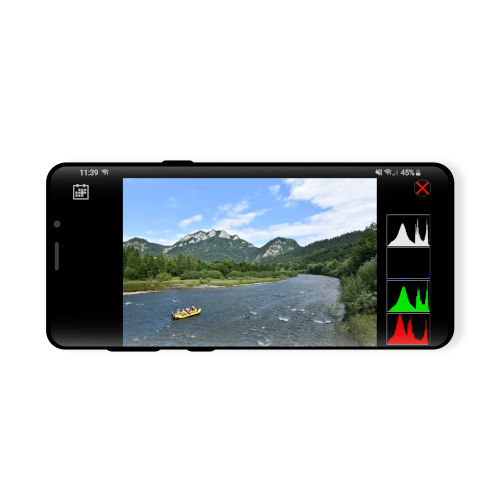
The app works on Android, iOS, Mac, Windows and Linux and provides:
See qDslrDashboard's website for all features and documentation.
Tiny Raspberry Pi computer + powerbank battery
Ready-to-run software for the Raspberry Pi
| Part | Price |
|---|---|
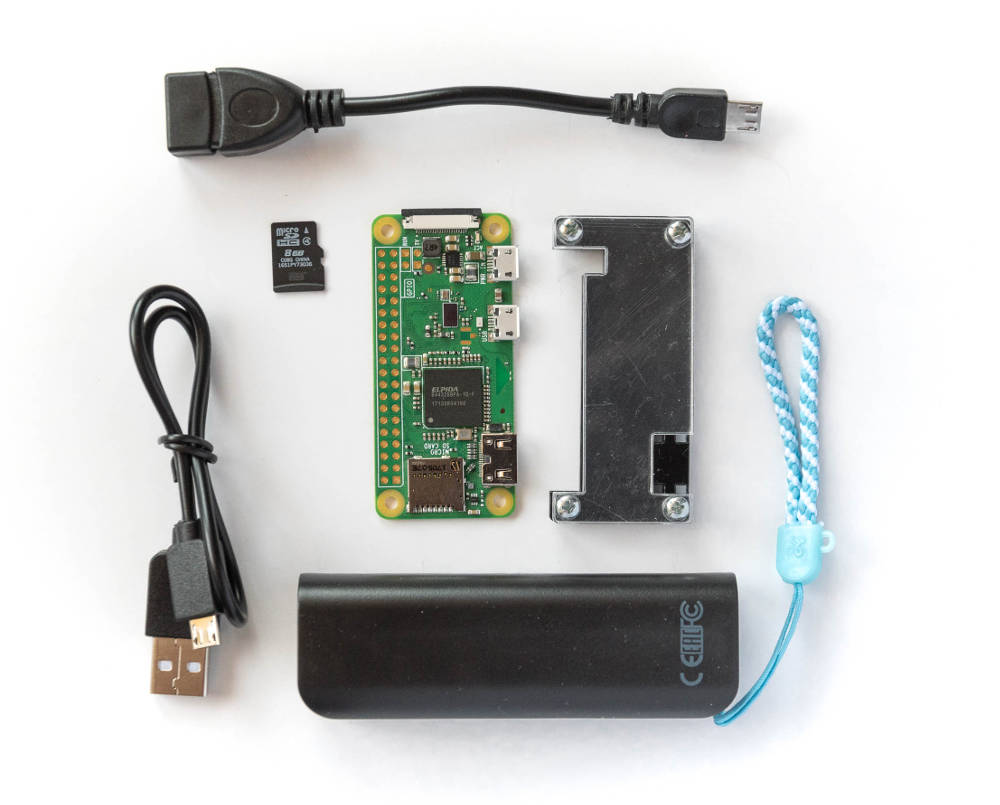
| a Raspberry Pi Zero W (the "W" means WiFi) | $10-15 |
| a small case for the Raspberry Pi | $5 |
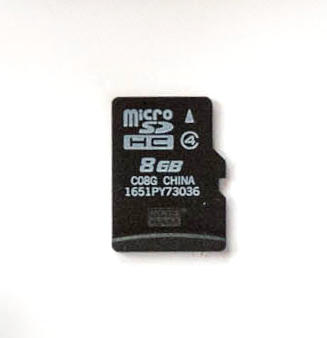
| a 4 GB microSD card, doesn't have to be fast | $4 |
| a USB OTG adapter cable | $3 |
| a small size powerbank (3000-4000mAh for normal use, 8000mAh or more for heavy use) | $5-10 |
| a USB cable for your camera (should come in the box) | — |
| the qDslrDashboard app | $10 |
The prices are going to differ between countries but the total cost should be around $50, unless you opt for a bigger and more expensive battery.
For preparing the microSD card you will also need access to:
In short, you need to do four simple things:
The Raspberry Pi creates its own WiFi network
(CameraWifi with password: CameraControl).
Each time it starts you need to connect your mobile device to this
network, start qDslrDashboard and connect to the camera.
camera-wifi.zip file to the
Select image area of the app (it can automatically unzip the file).
Disclaimer: I'm not the author of qDslrDashboard and I'm in no way affiliated with the app's author. I just think it provides a great way to add WiFi to older cameras and I've created this guide to help other users.
There is no power button on the Raspberry, connecting the powerbank cable works as a power switch.
Have fun!
(the instructions above also work if you're running qDslrDashboard on a laptop)
Now that you've tested that everything works you can delete the downloaded
camera-wifi.zip file.